In the world of art, the word paint usually refers to the use of oil or acrylic on canvas. Lesser known is the fact you can also paint with light.
We learned this skill from famed cinematographer and cave explorer Wes Skiles. In Wes’ time, he was limited to a single, 400-watt quartz-halogen bulb driven by a battery pack the size of four coffee cans taped together. Yet, even with this, Wes created some amazing photos and videos.
Today, video lights are vastly smaller, more powerful and more affordable. You can easily take two or more with you on a dive.
The images in this article weren’t shot by a veteran photographer. They were taken by a group of high school students, none of whom had ever shot anything underwater before. It just goes to show what is possible with a little guidance.
The students were taking part in a summer camp program called Earth Immersion. It was put together by veteran instructor Scott Davenport. Students in the program are regular visitors to Blue Grotto.
An important difference
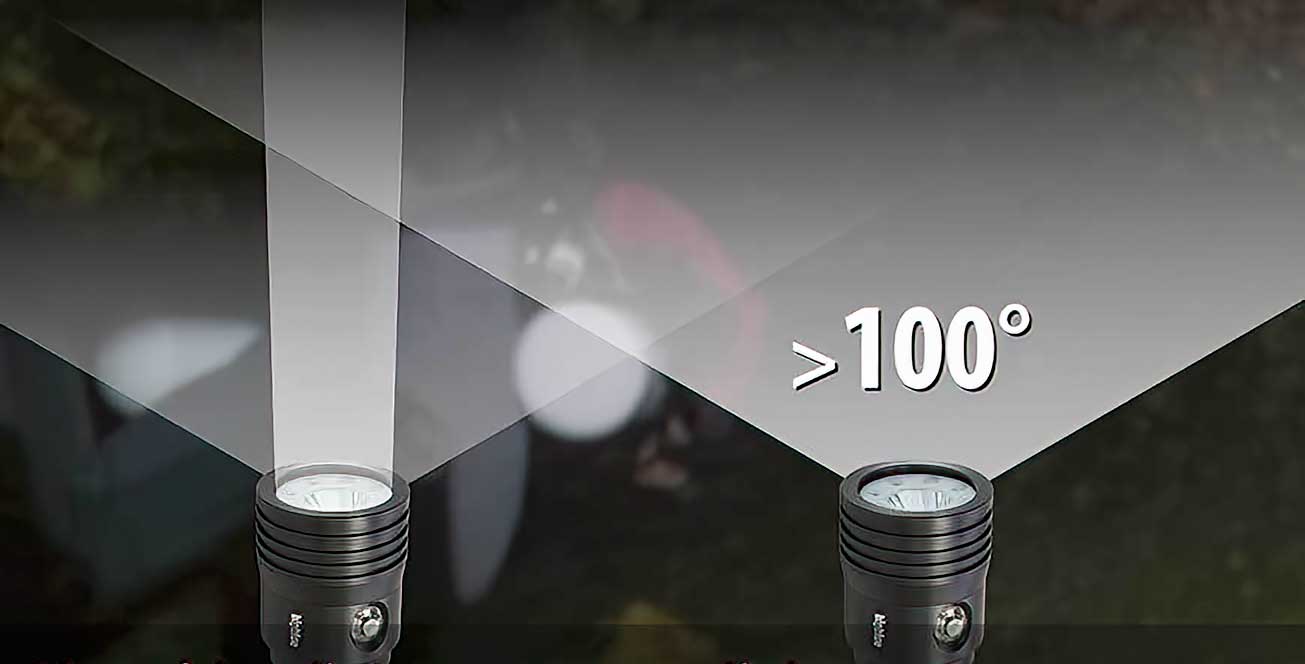
Understanding the difference between video and ordinary dive lights is vital.
Standard dive lights have a tightly focused beam. They are good for signaling buddies and looking into cracks and crevices. However, when used for photos and videos, they create hot spots and dark areas.
Video lights, on the other hand, have a wide, diffused beam. They help light up the same area the lens sees, leaving very little subject matter unlit.
Avoiding dark images and backscatter
You most often see underwater video lights and strobes mounted on arms attached to the camera or housing. This works well in the ocean, where you balance artificial light against sunlight. It does not work as well in caverns and caves. There are two reasons for this.
If all your lights are on the camera, you will light up your subject matter but none of the area behind it. Lighting the area behind your subject is every bit as important.
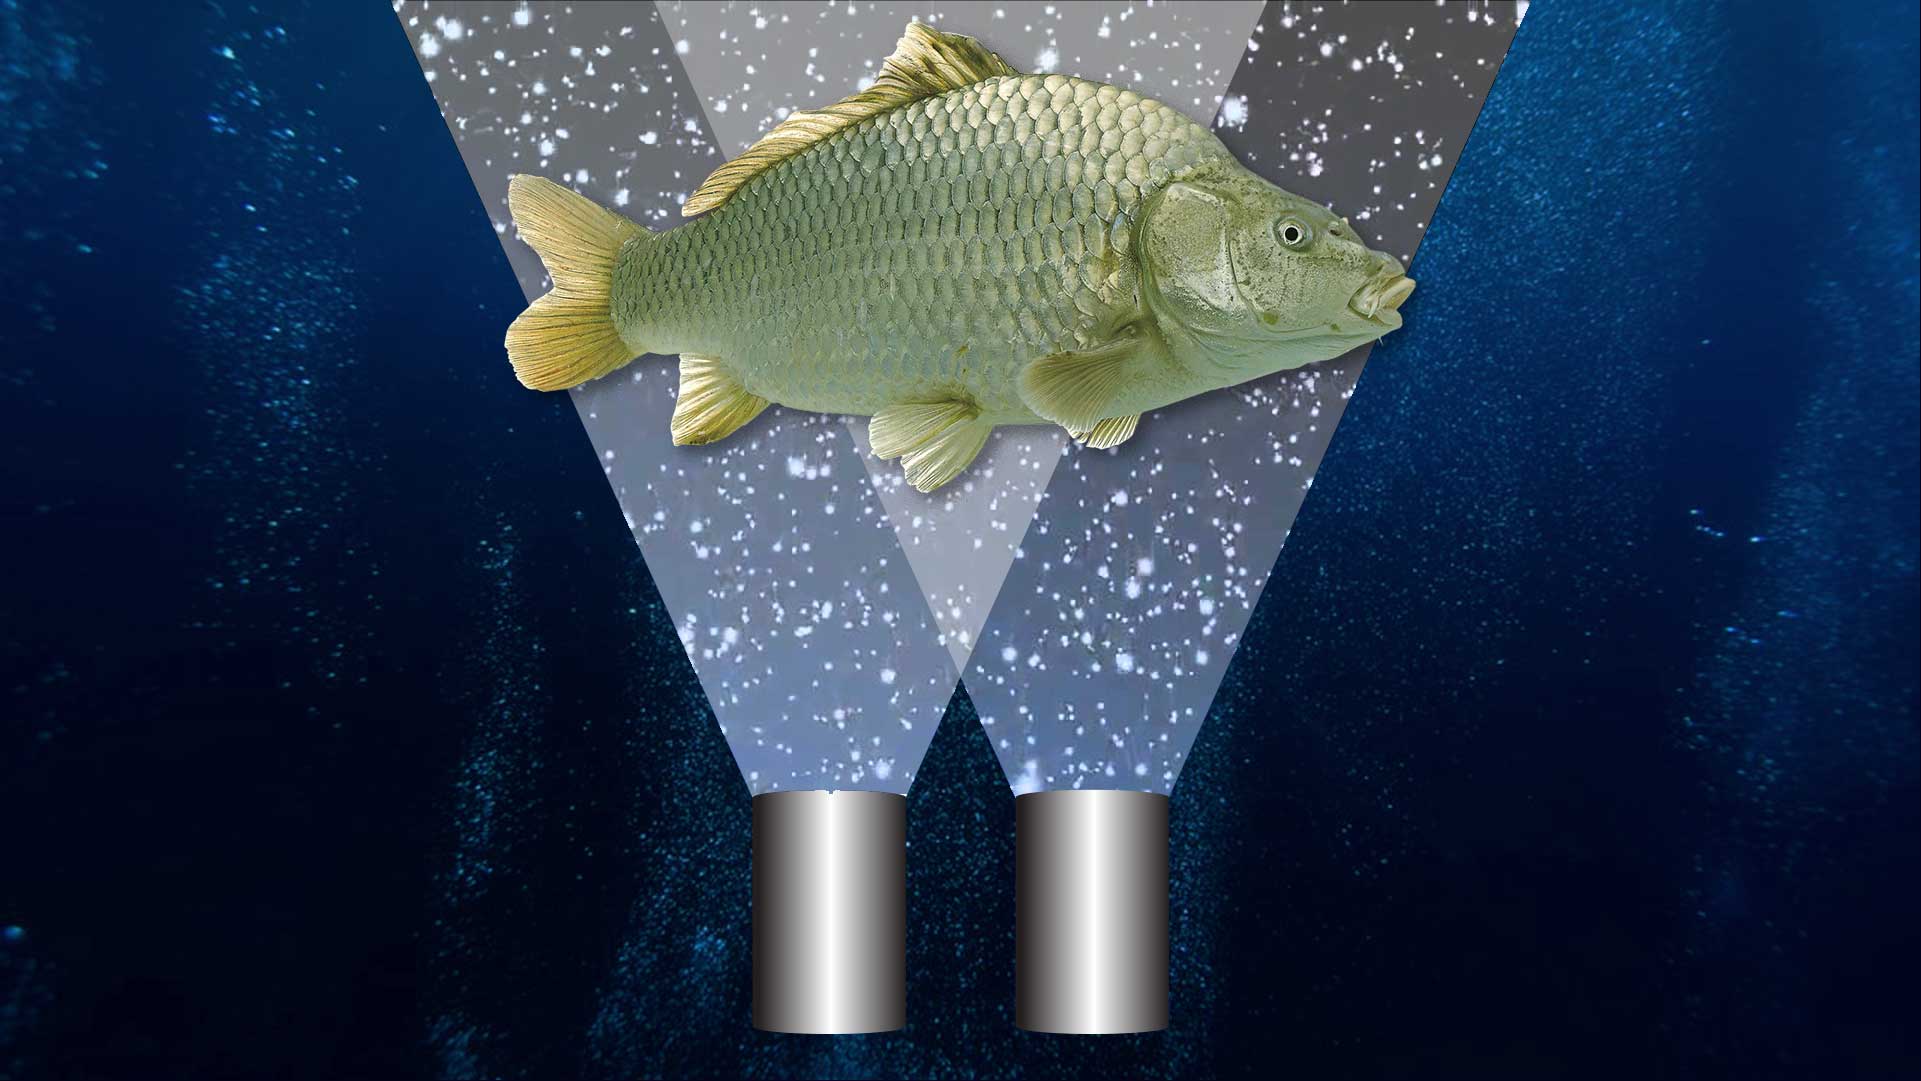
Lights close to the lens and pointed in the same direction can easily create backscatter. This is when the light bounces off suspended particles and back into the lens.
To avoid these problems, you must get your lights off the camera and positioned so that they hit any suspended particles at an oblique angle. If possible, get the edges of the beams to cross just in front of your subject matter. Put your most powerful light behind your subject so that it lights up the background.
So many things to shoot
Blue Grotto has no shortage of subject matter for both photos and video. Here are some examples of the things our visiting high school students were able to capture.
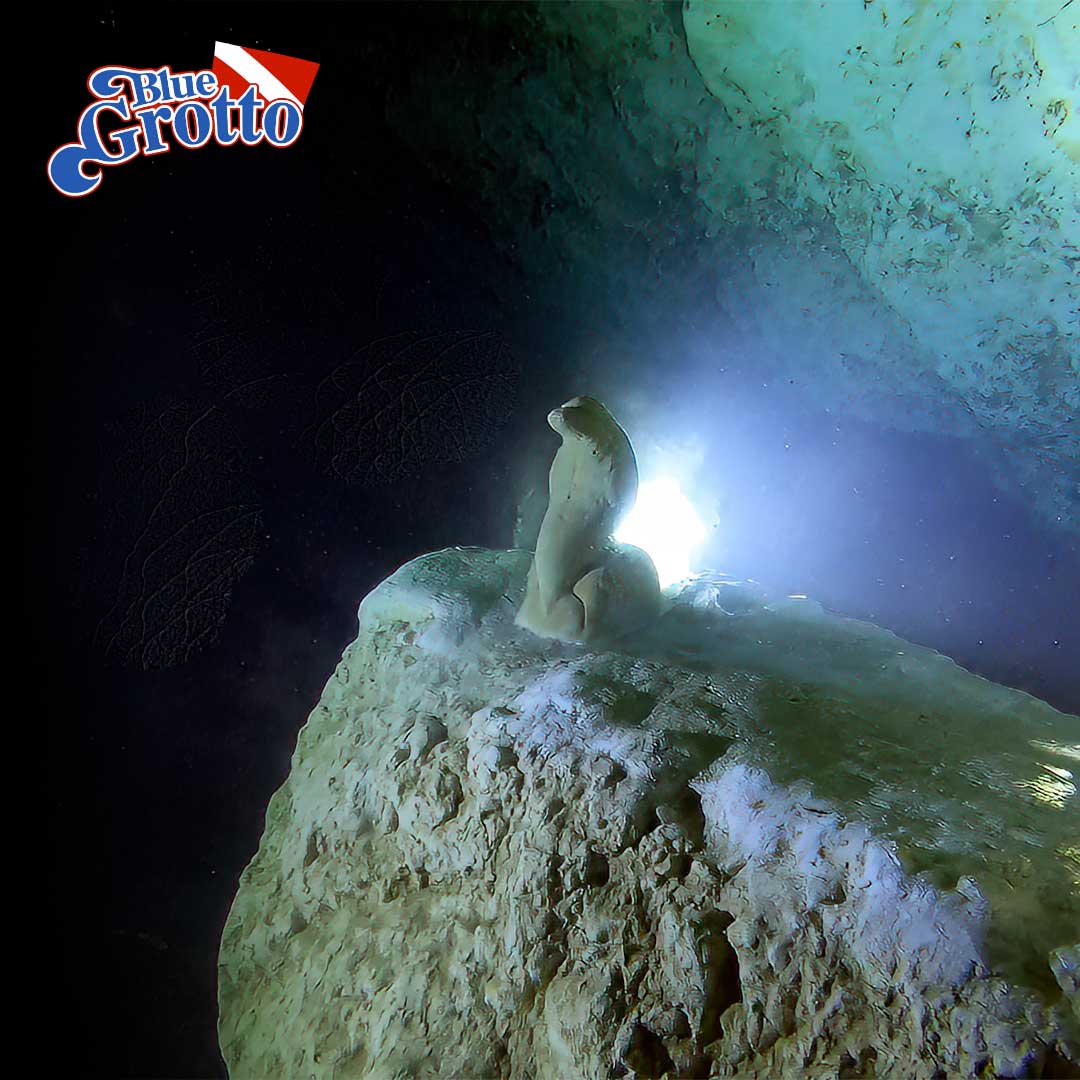
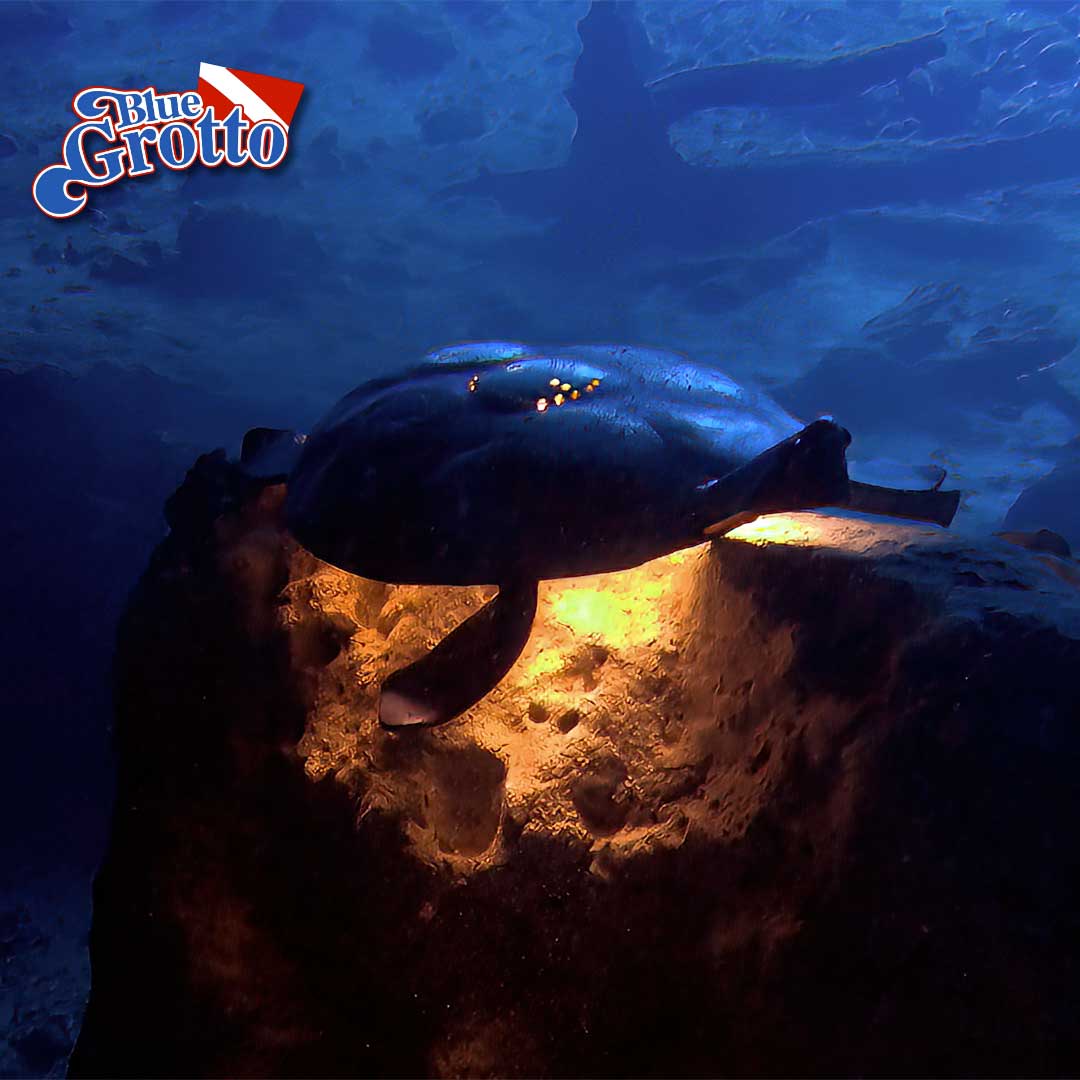
The dolphin statue is a popular landmark. Here you see what happens when you make sure the area behind the statue is evenly lit.
You can often achieve an even more dramatic effect by backlighting your subject. Here you place a powerful light behind the object, angled back toward the camera.
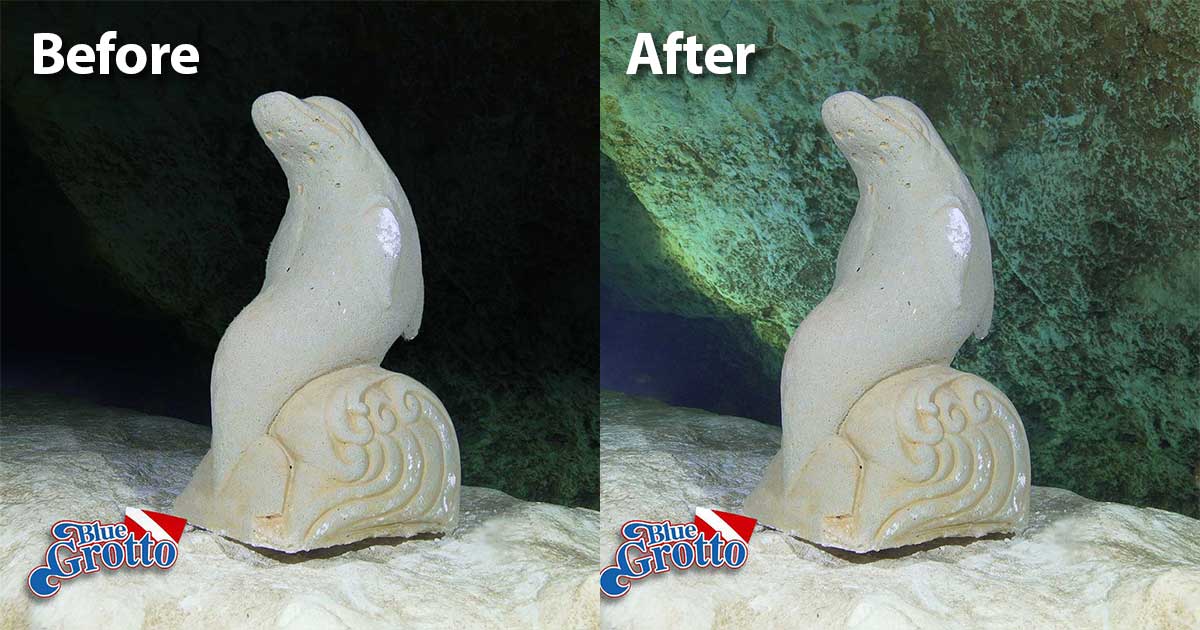
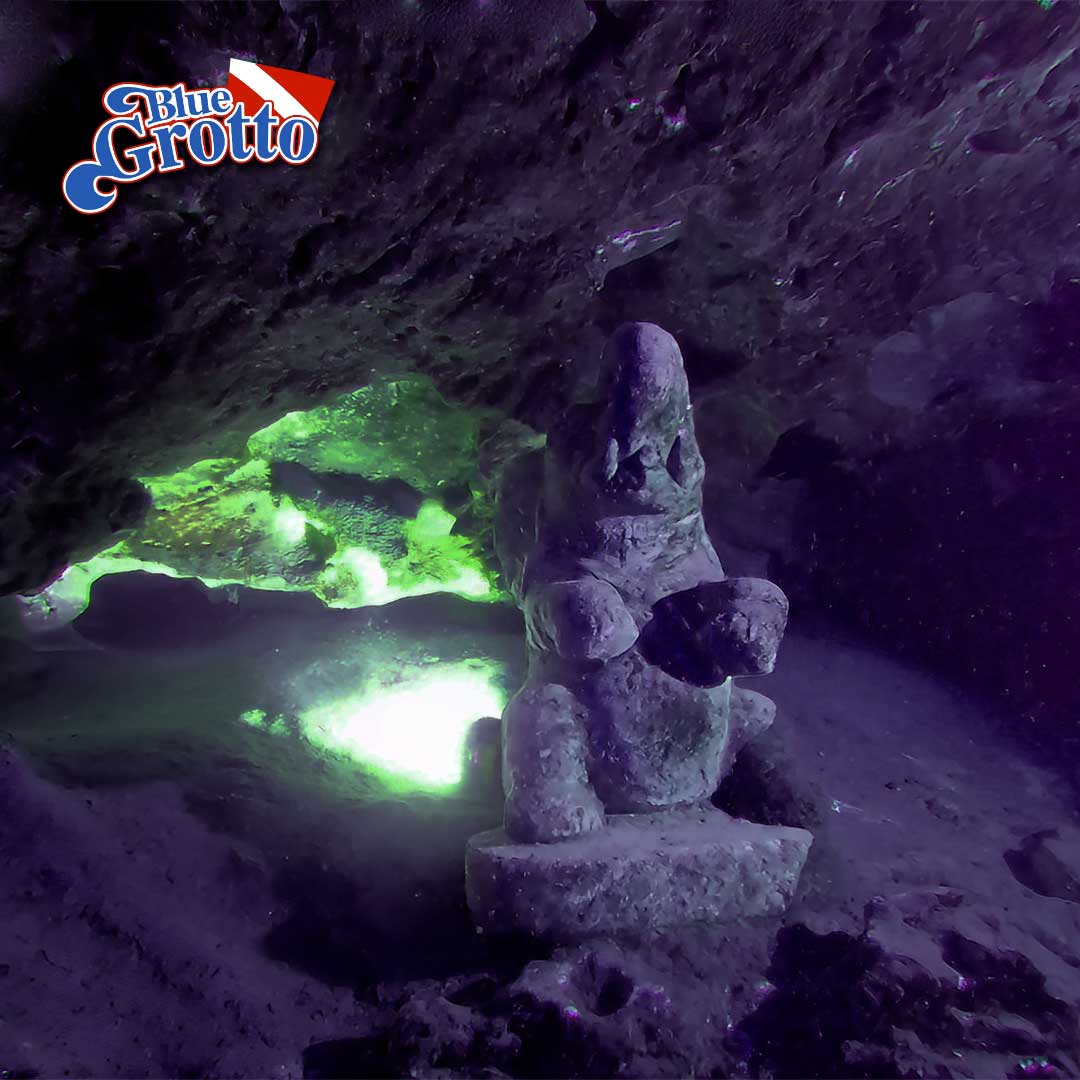
Here is the elephant statue. It’s not backlit, but the area behind it is creatively illuminated.
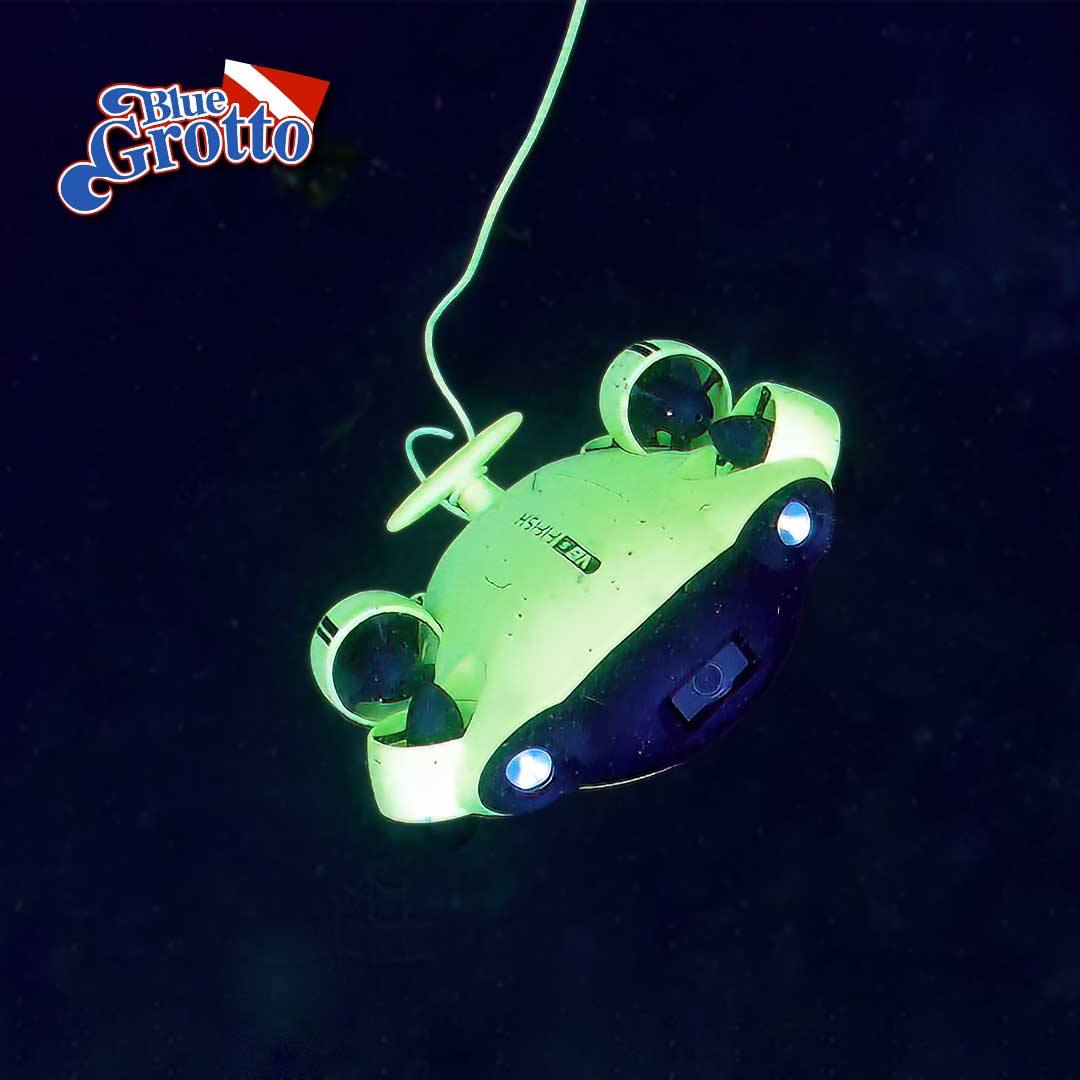
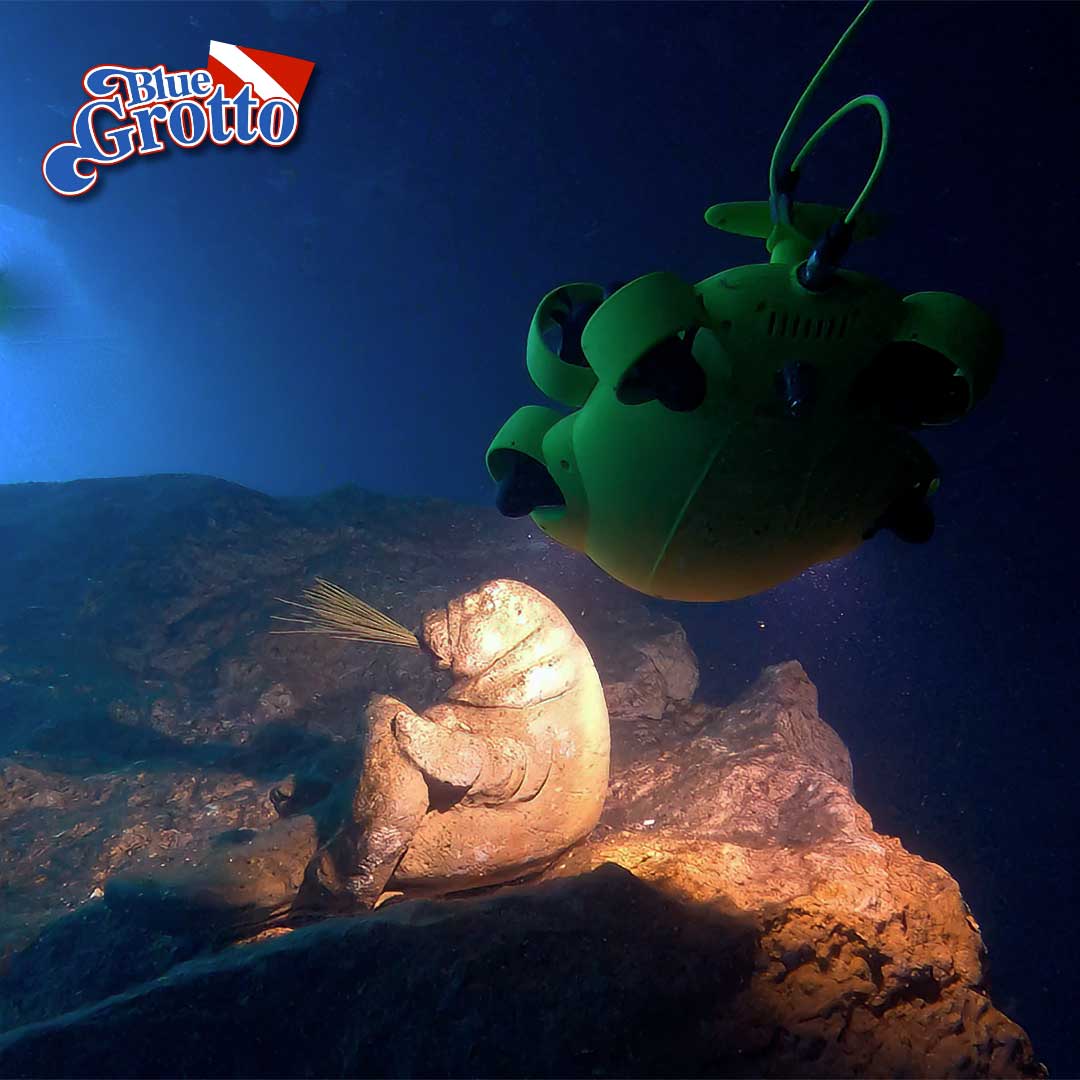
During the high school students’ visit, we also hosted an ROV operator class from Pasco-Hernando State College. Virgil the Turtle is fascinated by these little remotely operated vehicles, which are just about her size and shape.
The ROVs come with their own video lights. Here you see one light up Molly the Momma Manatee and her babies.
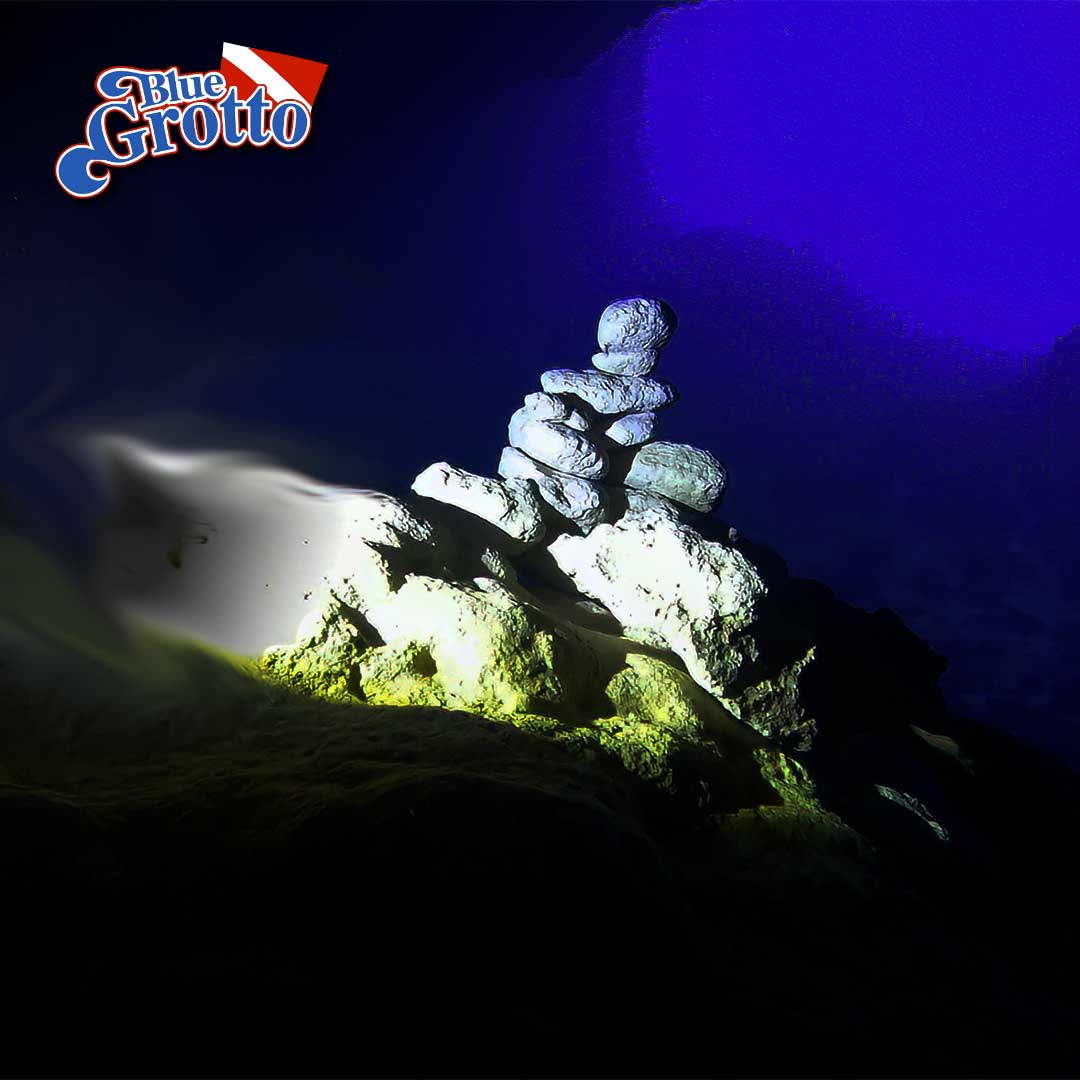
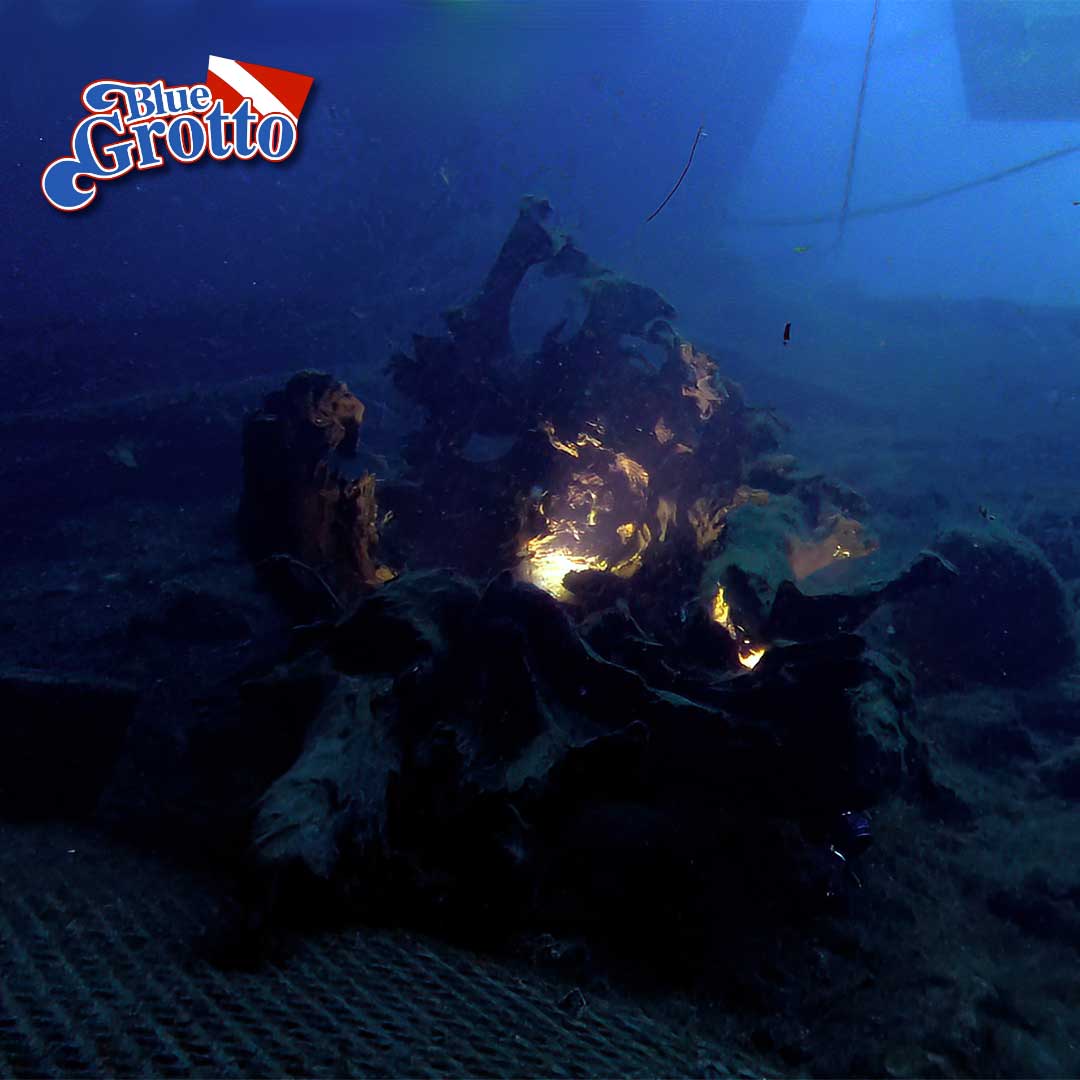
The recent addition of The Gnarly Stump has added more potential subject matter for creative photographers and videographers.
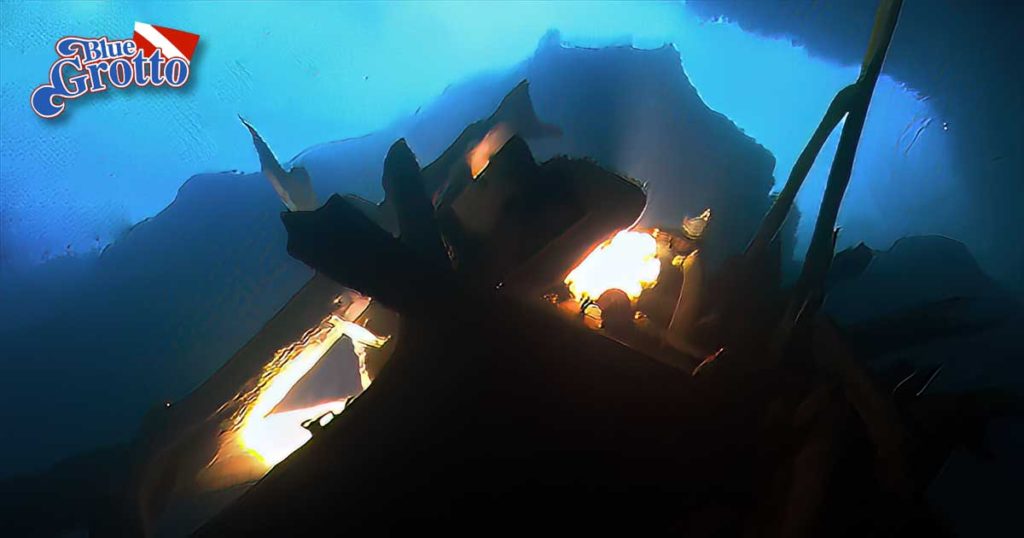
Finally, we have the brass turtle. We’re convinced it comes alive at night and wanders the Grotto searching for a new resting place. We never seem to find it in the same place twice.
The day the students shot this, we were able to light it up like an underwater UFO.
Make it happen
The next time you visit the Grotto, bring your GoPro or other camera and at least one video light. In this era of digital imaging, we find video lights work equally well for both photos and video. They have the added advantage of giving you a better idea of what your images will look like before you press the shutter or record button.
Do this, and you will go home with breathtaking images to share with friends, family and on social media. If high school students can do this on their first attempt, so can you.