
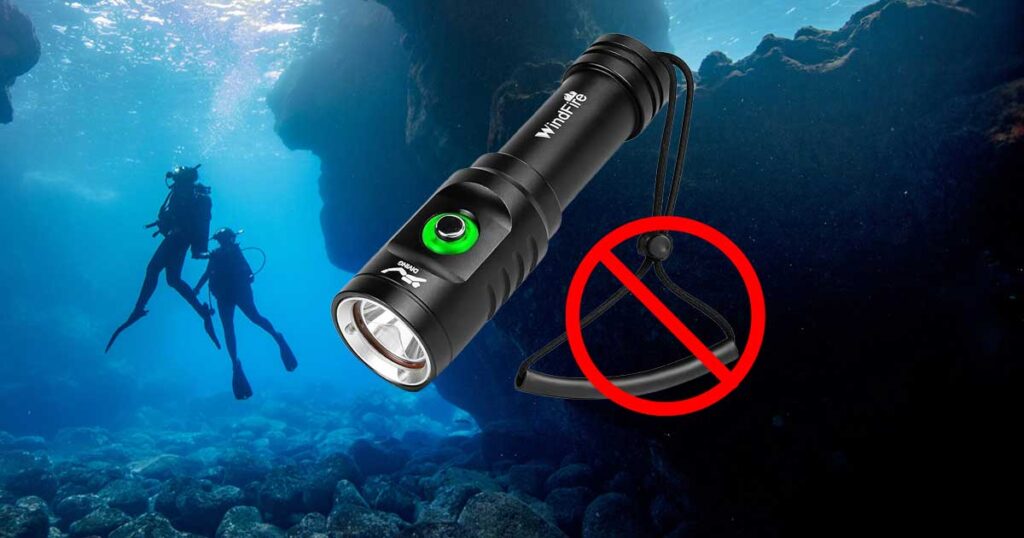
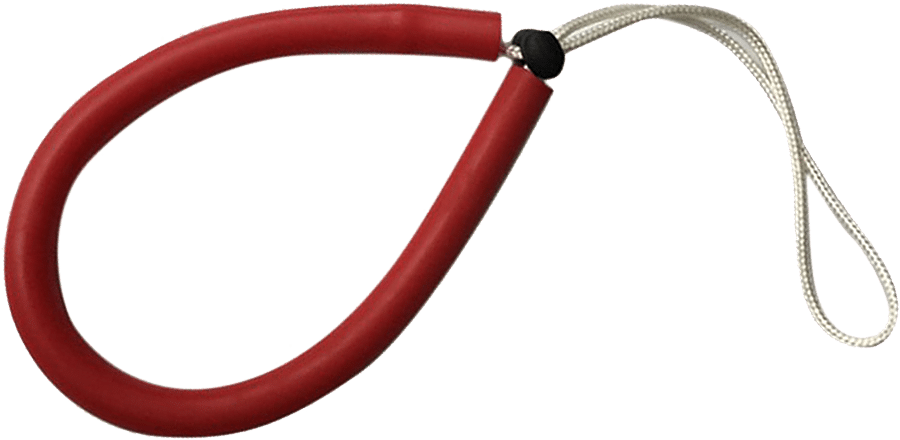
Unless you purchased a dive light that was designed explicitly for cave or technical diving, odds are it came with a wrist lanyard. If you didn’t know any better, you might assume this is how a dive light should be used. Guess what? It isn’t.
If you watch diving’s most experienced underwater explorers, you will almost never see them equipping primary or backup lights with wrist lanyards. What you should be asking is:
- Why do these divers avoid lanyards?
- What is the better alternative?
Why do we even have wrist lanyards?
You must go back to the 1950s and 1960s to answer this question. Early tank harnesses did not come with D-rings, so even if your dive light was equipped with a snap, there would be no place to clip it off to.
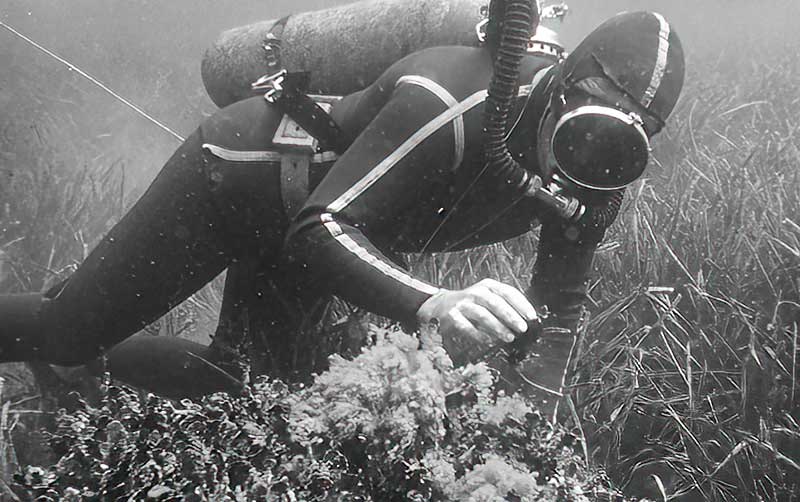
You also couldn’t clip your light to a BC D-ring. Why? Because we didn’t have BCs back then. They didn’t appear until the 1970s. The first BC to offer even rudimentary D-rings was the Scubapro Jacket in 1977.
Before this, a wrist lanyard was the only way to manage a dive light. However, nearly all modern dive equipment comes with multiple D-rings, so the need for wrist lanyards has long passed.
The problem with wrist lanyards
There can be many problems with wrist lanyards. Chief among them is the fact they may interfere with your ability to:
- Deploy or retrieve an SMB.
- Handle an underwater camera.
- Effectively use an ascent/descent line.
- Ascend a boarding ladder.
These and other activities require that you have both hands free. But, if you have a light attached to your wrist, it will interfere with your ability to perform these crucial tasks. The constant tug on your wrist will also be hugely annoying.
The better alternative
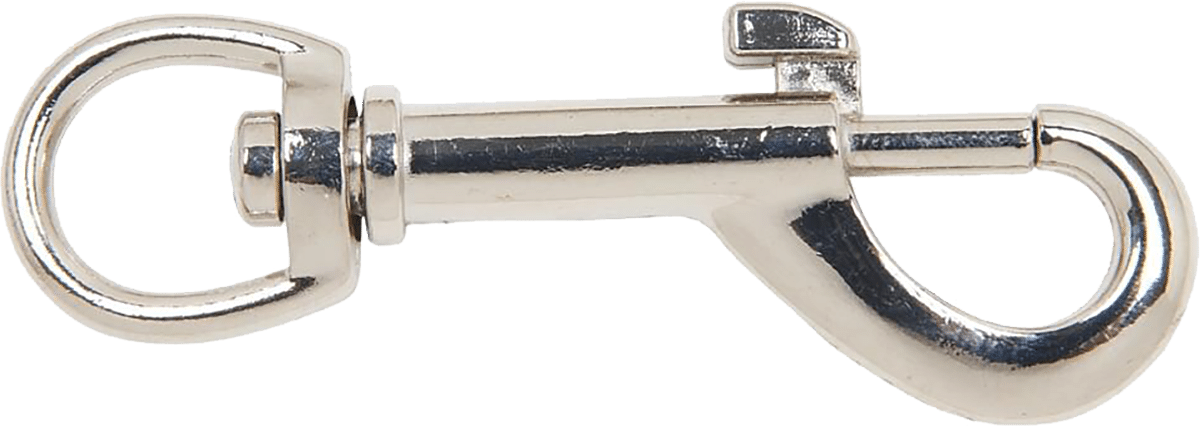
In place of wrist lanyards, experienced divers equip their lights with stainless bolt snaps. These come in various sizes; the larger ones may be preferable if diving with gloves in colder water.
Bolt snaps allow you to clip your light off to a D-ring whenever it is not in your hand. This leaves your hands totally free.
The question now is, how do you attach a snap to your light?
- One possibility is to use one or two cable ties. However, these can easily break.
- Another possibility is to use a stainless quick link or split ring. These can be nearly bulletproof. Unfortunately, the mounting holes on many lights are not large enough to accommodate them.
- The method preferred by cave and technical divers is to attach snaps to their lights using a piece of #24, braided nylon line. Although this may not sound reliable, it can be nearly as bulletproof as a stainless quick link or split ring if done correctly.
The technique for doing so is:
- Connect the light and snap using two or more line wraps as shown.
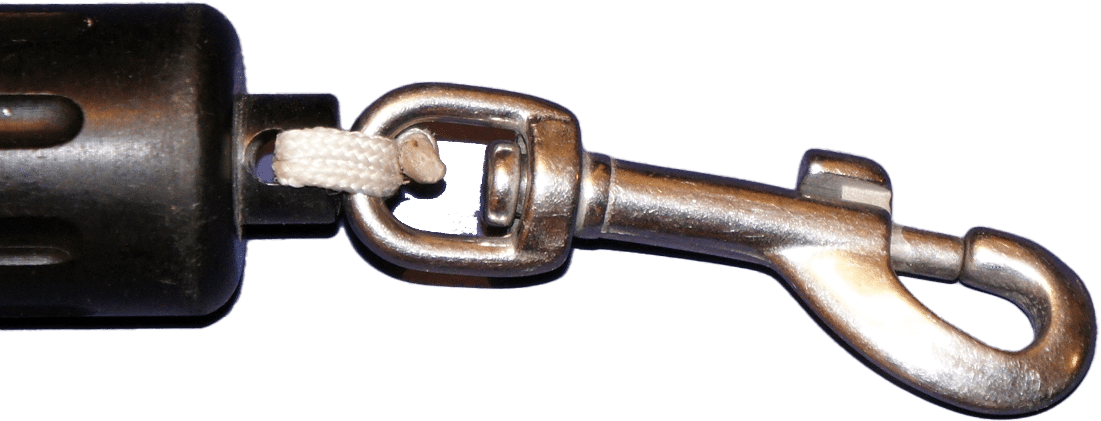
- Tie the ends of the line together tightly using a square knot.
- Trim the line so that only one-quarter of an inch protrudes from the knot.
- Use a lighter to burn the ends of the line. As the line begins to melt, smash the melting nylon against the knot so that it forms a mushroom. This locks the knot in place.
While your primary dive light will likely be in your hand most of the time, your backup light will not. You will want to stow it in a way that does not allow it to dangle, where it could become entangled in lines or other objects.
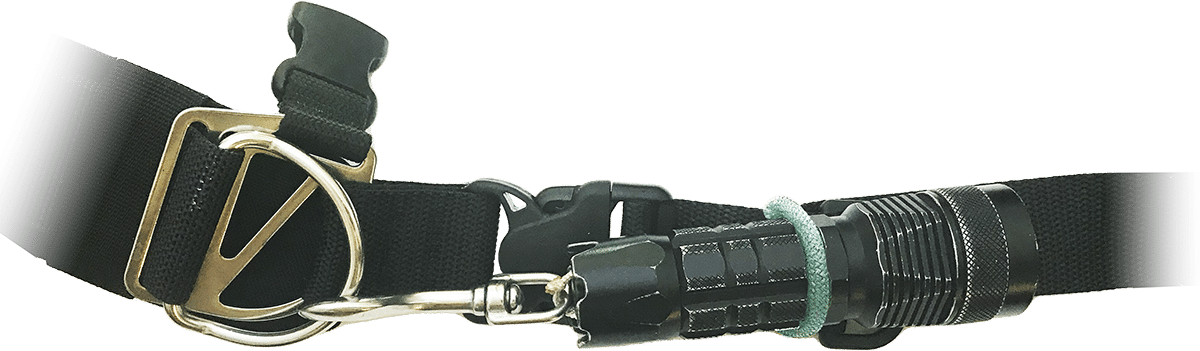
Many divers put a loop of bungee cord or bicycle inner tube on one of their shoulder straps, as shown. This will help prevent the light from dangling.
Mounting options
Most divers will have their lights either clipped off or in their hands. However, some divers, such as DPV users, must be able to use their lights while keeping both hands free. Fortunately, there are two options that will allow them to do so.
Helmet or headband mounts
It is possible to mount dive lights on the sides of helmets. There are also dive lights that come already mounted on adjustable headbands.
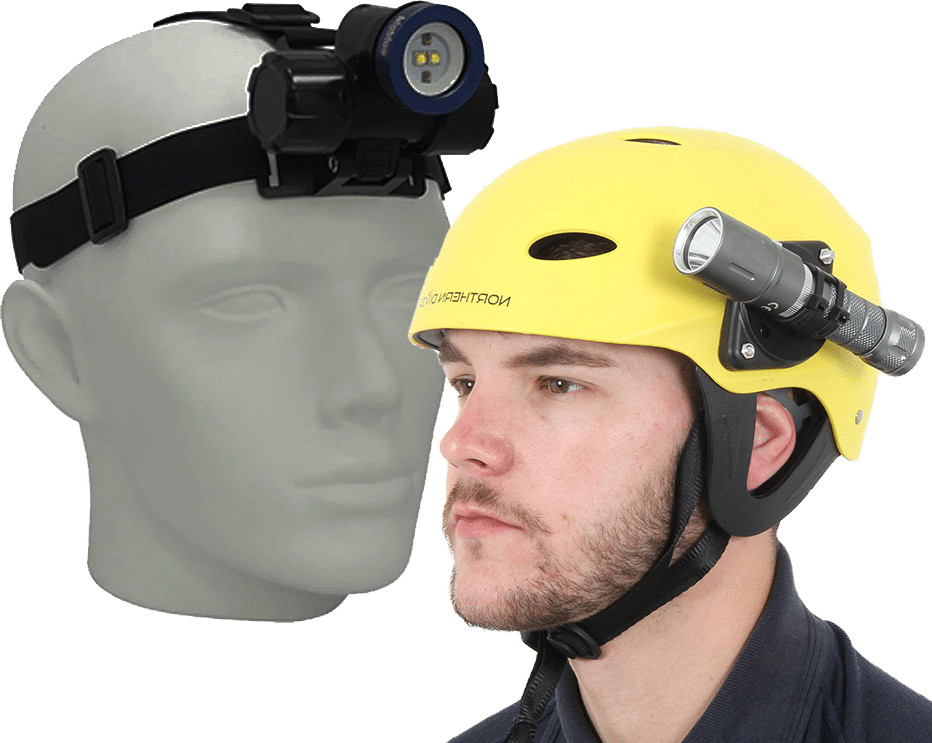
The chief benefit of this approach is convenience. Not only does it keep your hands free, but you can illuminate objects just by looking at them. However, this approach has some potentially serious drawbacks.
- It is difficult to use your light as a signaling device.
- With a head-mounted light, you can easily blind your buddies or boat crew simply by looking at them.
For this reason, the best approach may be to use a helmet with a quick-release mount for your light. This way, you can keep the light in your hand unless it is necessary to keep both hands free.
Handmounts
By far, the most popular approach to hands-free light use is to attach the light to the back of your hand. There are two ways to do this:

- Goodman-style handmounts are crafted from machined aluminum. Your light attaches to the flat part of the mount, either with a fixed or quick-release mechanism. The balance of the mount is adjustable to accommodate hands of varying sizes.
- Flexible hand mounts work the same as Goodman-style mounts. The difference is they are usually made from neoprene foam wetsuit material, nylon strapping or some combination of the two.
Whichever route you go, you will want to attach a stainless snap to the handmount. If need be, this will allow you to clip it to a D-ring when not in use.