If there is one thing you should take home with you after visiting Blue Grotto, it’s memories. Specifically, memories in the form of photos or videos. Not only does this allow you to look back on the experience, but you can also share that experience with family and friends on social media.
Obviously, you want to capture the best images possible. And, in an overhead environment like the Blue Grotto cavern, the key will be lighting. So, how do you achieve the best possible lighting when there is little or no sunlight to work with?
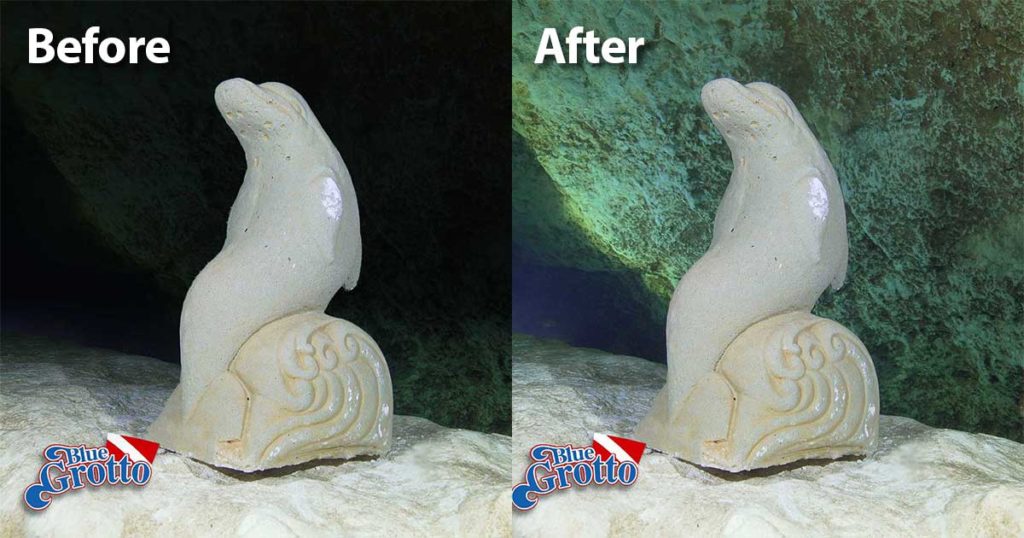
Take a look at the photo below. It shows our good friend, Mr. Dolfun. The statue itself is well lit. If anything, it may be a tad overexposed. The problem is the background. There isn’t any. It’s as though the photo was shot in a darkened closet.
The problem stems from the fact both lights used to shoot this photo were mounted on a tray with the camera. As such, they could not reach any further than the statue. Now, let’s look at the same photo shot differently.
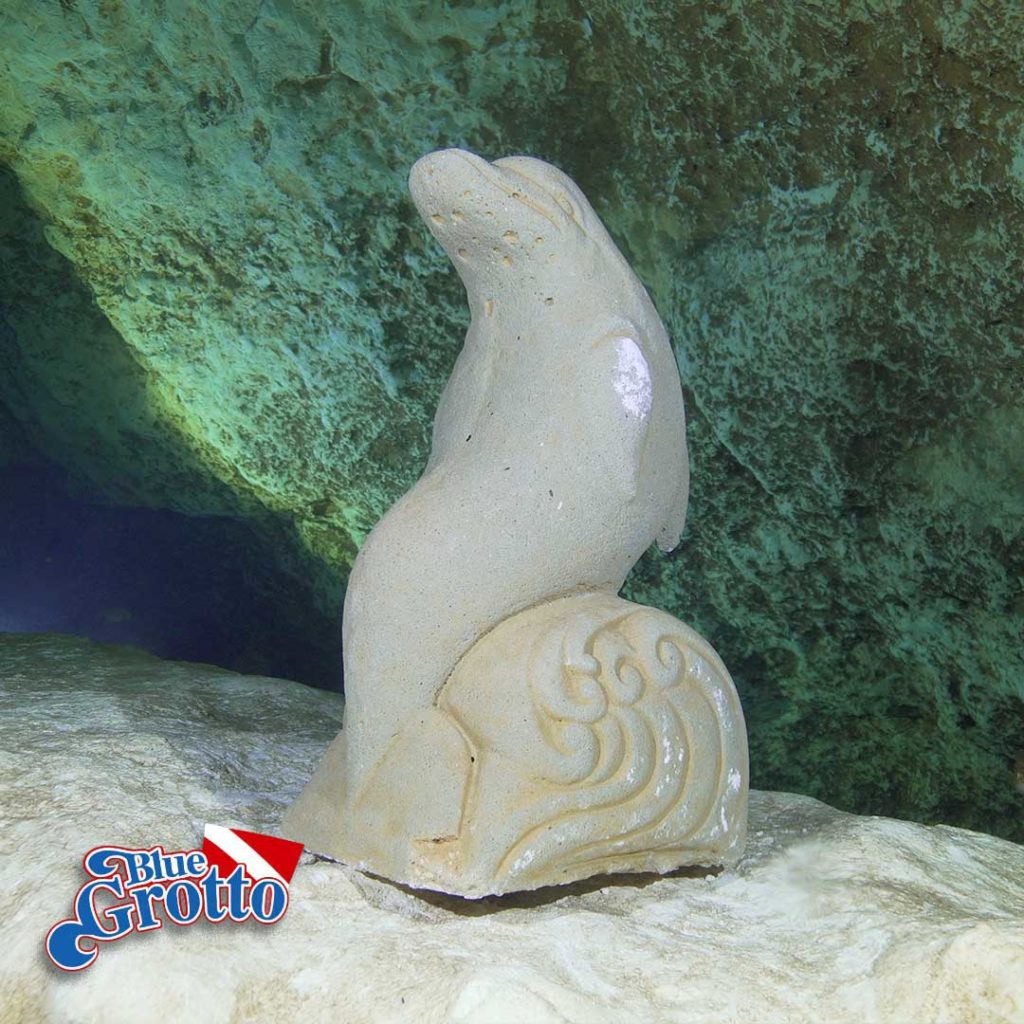
What’s different? In the second example, one of the two lights was placed behind the statue and set to full power. The remaining light stayed on the camera but was set to one-quarter power. This not only ensured the wall was adequately lit but, from the camera’s perspective, the lights were in balance.
This tells us that to get the best possible photos and videos inside the Grotto, it’s important to make sure the area behind your subject is adequately lit. That means having at least one light off camera.
Practical considerations
So far, we’ve made several assumptions. These include:
- You are shooting with video lights and not still-camera strobes. It is possible to do something similar with strobes but requires the use of slave sensors. It’s something better left to the pros. Video lights work equally well for stills and afford greater flexibility. They also let you see what you are doing while you do it.
- You have at least two video lights. If you have just a single light, you may be stuck with well-lit subjects on a mostly-black background. Consider getting a second video light. It should be one more powerful than the light on your camera.
- You’ve equipped your off-camera light with a stainless snap. This way, you can clip it off to your gear when not in use.
When setting up a shot, place the off-camera light behind something like a rock or statue so that it is out of sight of the camera. Aim it at whatever is directly behind your subject. Play around with light placement until you are happy with what you see.
Following these steps will result in vastly better imagery. Images that impress everyone who sees them.


